Activity #6 Getting Started with Angular

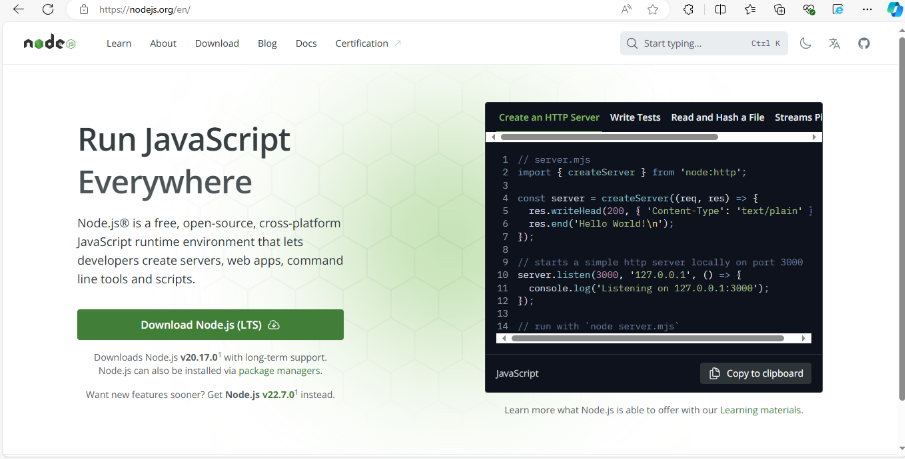
Step 1: Install Node JS
Download the NodeJS LTS From the official website and install it to your machine
Step 2: Install Angular CLI
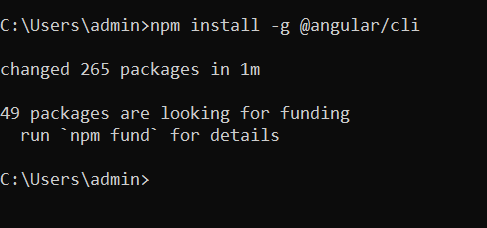
Install the angular cli using "npm install -g @angular/cli"
- This command installs the Angular CLI globally on your system. The Angular CLI is a command-line interface tool that helps you manage Angular projects, generate components, and streamline development tasks.
Step 3: Create new Angular project
Create new angular project, name it to your liking
"ng new my-angular-app"
-This command generates a new Angular project called my-angular-app. The CLI will ask a few setup questions (e.g., whether to include Angular routing, which stylesheet format to use). It creates a project directory with the necessary Angular files, configuration, and a basic app structure.

Step 4: Run the angular app
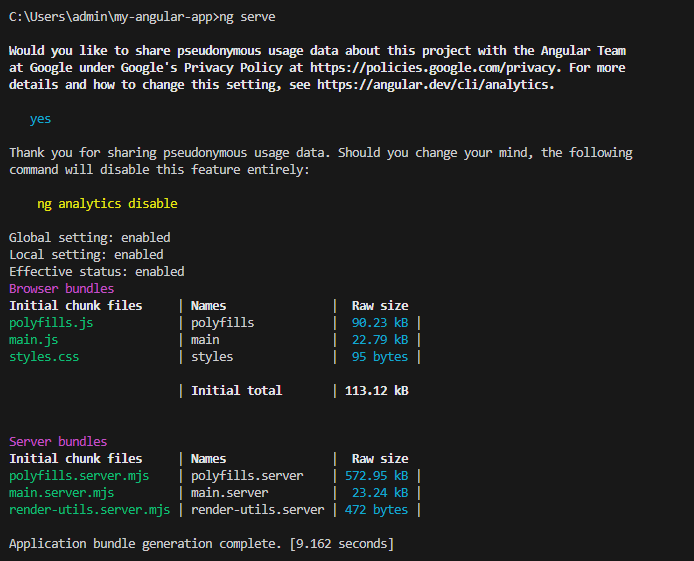
I used ng serve to run the Angular app
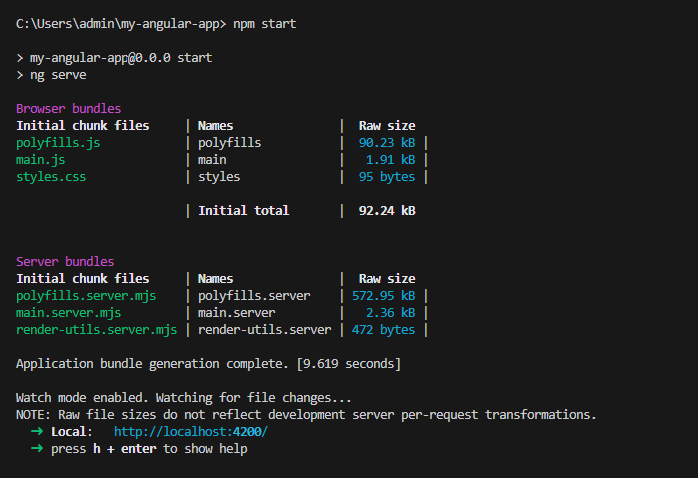
- The ng serve command compiles the Angular project and starts a local development server. By default, it serves the application at http://localhost:4200. It also enables live reloading, so any changes made to the code will automatically reflect in the browser.
npm start
Step 5: Make your first change
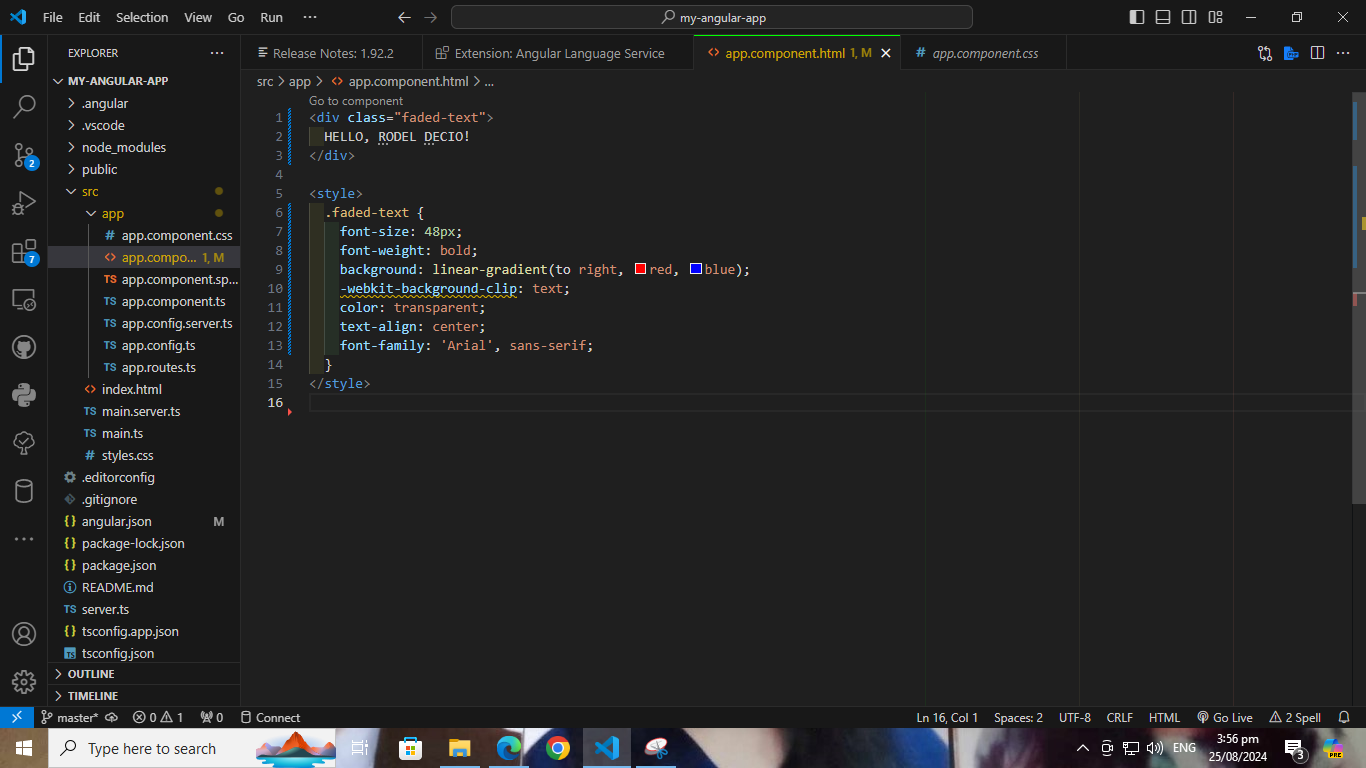
Edit the app.component.html
- The app.component.html file is the template for the main component of the Angular app. You can edit this file to change the HTML structure and content of the main page. Angular components consist of an HTML template, a TypeScript class, and optional CSS styling.
Step 6: Build your app for production
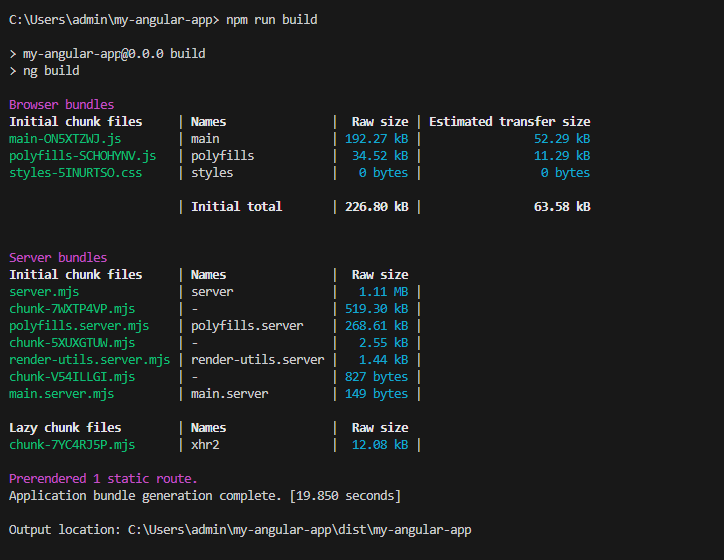
use "npm run build"
- This command triggers the ng build script, which compiles your Angular app and optimizes it for production. The output is placed in the dist/ directory, which contains the static files (HTML, CSS, and JavaScript) that can be deployed to a web server.
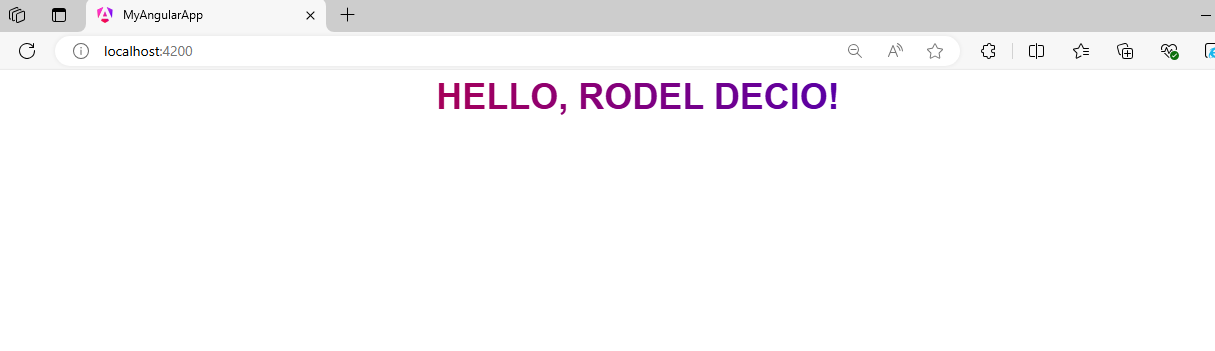
OUTPUT
Github Repository: https://github.com/RodelDecio/angular.git